Verify Your Domain for Google Workspace
To start using your domain for Google Workspace, you need to verify that you own the domain name. This process is required to ensure no one else can use your domain name with Google Workspace.
Before You Proceed
Make sure you have created your Google Workspace user already and assigned it as an admin. This is because the process will include logging in to your Google Workspace Admin console.
Step 1: Get the Needed Information
To verify your domain with Google, you need to get the verification record from your Google Workspace console and set it up on your domain's DNS record. Read and follow the next guides carefully to get your Google Workspace verification record and know where you can set it up.
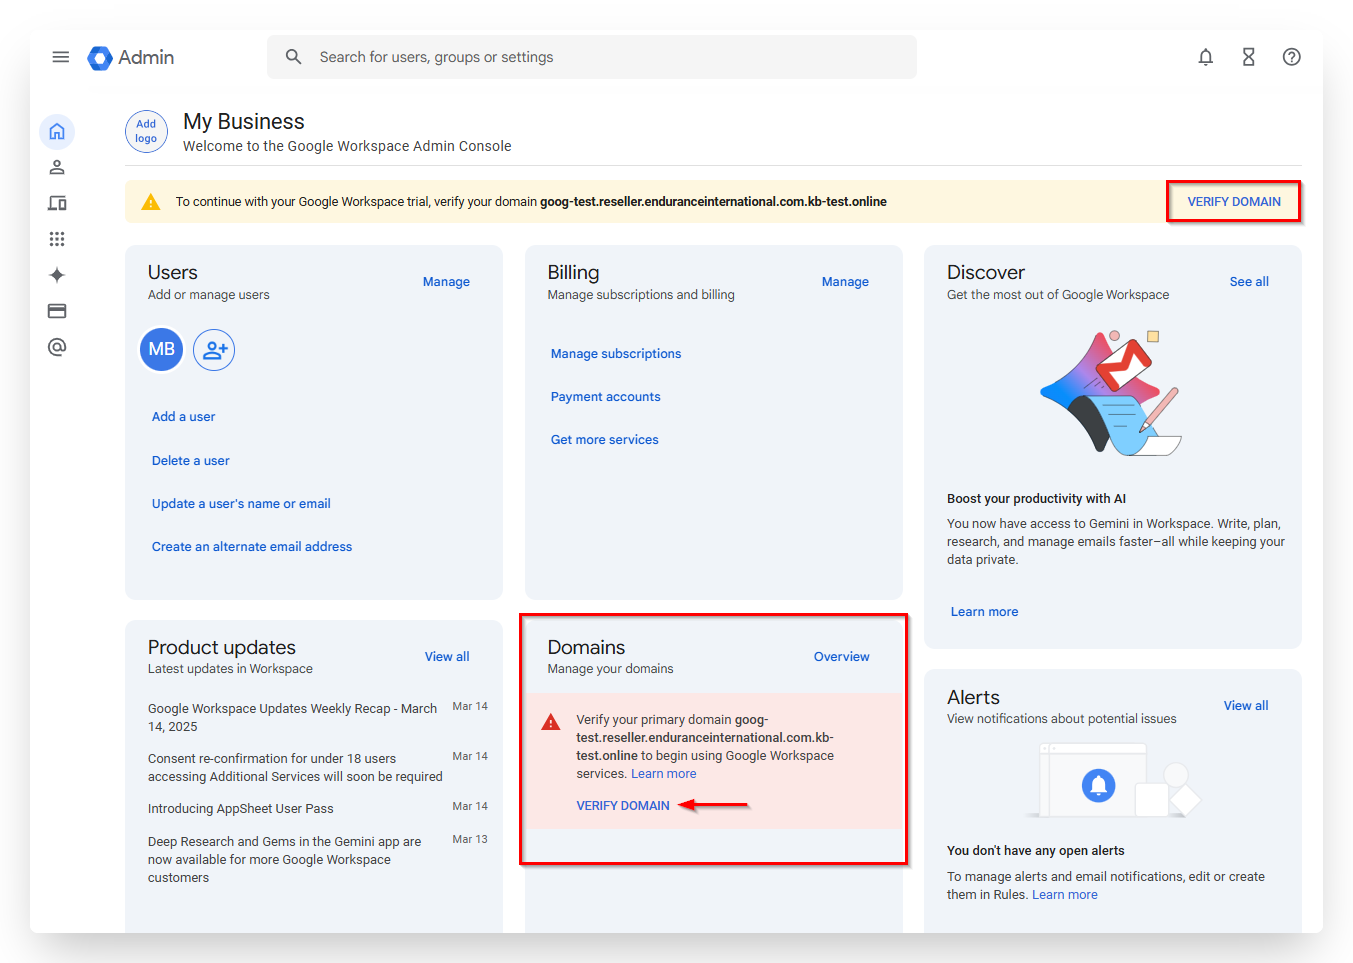
- Log in to your Google Admin console.
- Locate the domain section and click VERIFY DOMAIN.
- On the Let’s set up your domain page, click Get started.
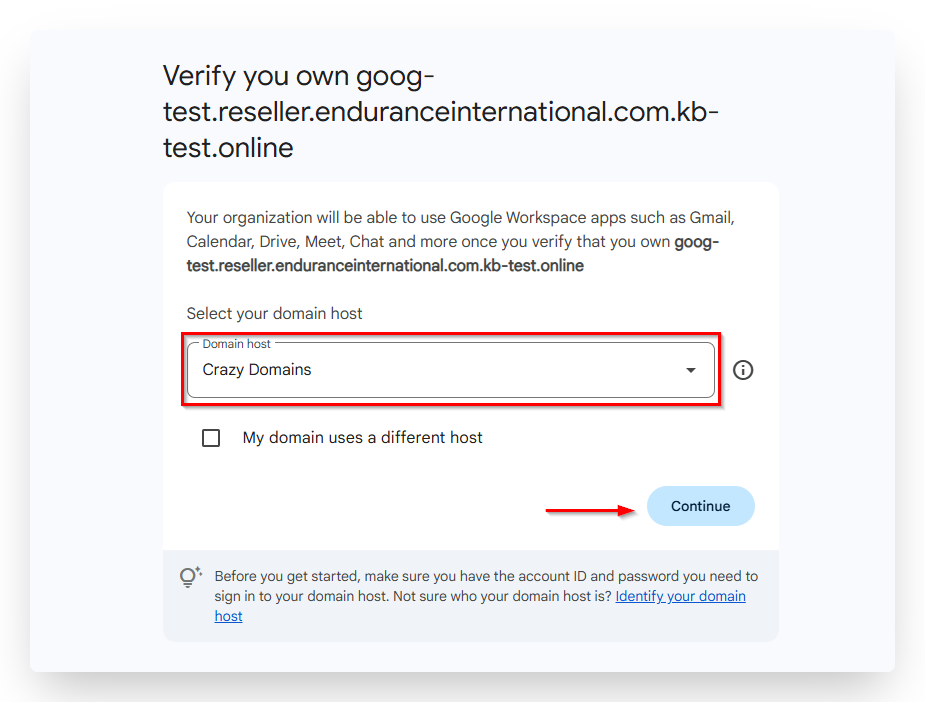
- On the next page, ensure Crazy Domains is set as your domain host, and then click Continue.
- On the next page, you will see options for a TXT record and a CNAME record. Select CNAME as the verification method and note the Name and Value provided.
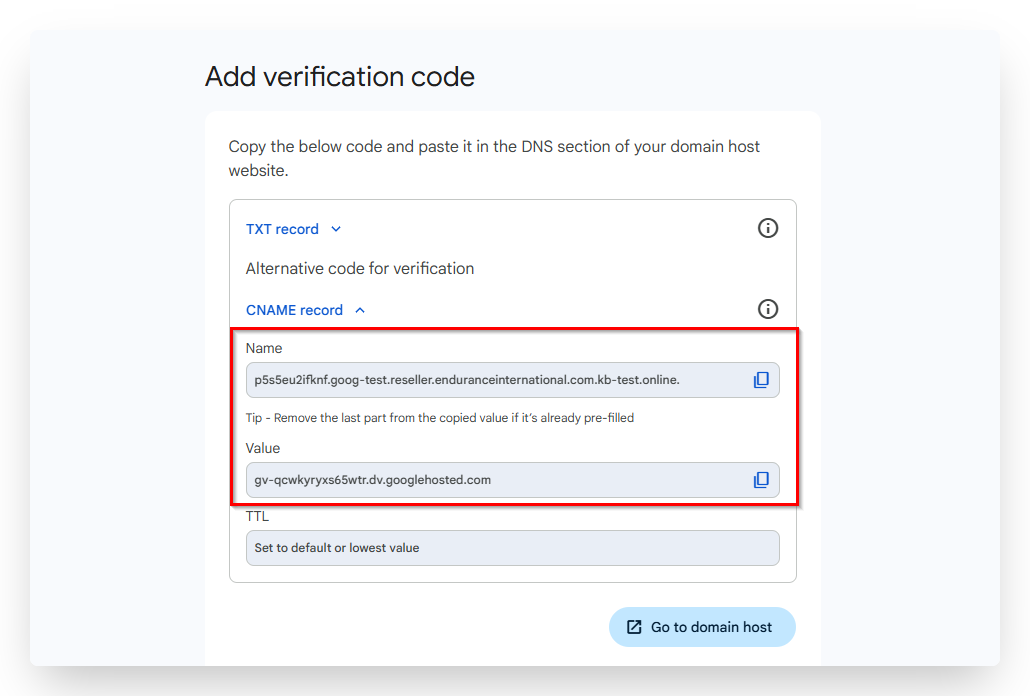
IMPORTANT.- You may choose TXT record as an alternative verification if you have the option in your DNS settings.
- Keep this page open. You need to go back here later after adding the CNAME record to your domain's DNS settings to complete the verification. If you've closed this page, you can repeat the steps to go back.
- Check the current name servers connected to your domain name.
- Refer to the table below to know where you can put your Google Workspace verification record.
Current Name Servers Where To Add The Verification Code ns1.crazydomains.com and ns2.crazydomains.com
or
ns1.dnspackage.com and ns2.dnspackage.comSelect Crazy Domains' Account Manager DNS settings in Step 2. ns1.syrahost.com and ns2.syrahost.com If your domain is connected to our Linux Hosting, select cPanel DNS editor in Step 2.
If your domain is connected to our Windows Hosting, select Plesk DNS settings in Step 2.External Name Servers (not ours) Select External Name Servers in Step 2.
Step 2: Add the verification record to your domain
Select one of the DNS zones below that corresponds to the name servers of your domain. See step 1 to learn more.
Add your Google Verification records in your Crazy Domains Account Manager DNS settings if the current name servers of your domain name are ns1.crazydomains.com and ns2.crazydomains.com; or ns1.dnspackage.com and ns2.dnspackage.com.
- Log in to your Account Manager and access the DNS Settings section of your domain name.
- Click ADD RECORD and select CNAME Record.
- In the Sub Domain field, enter the NAME provided by Google Workspace.
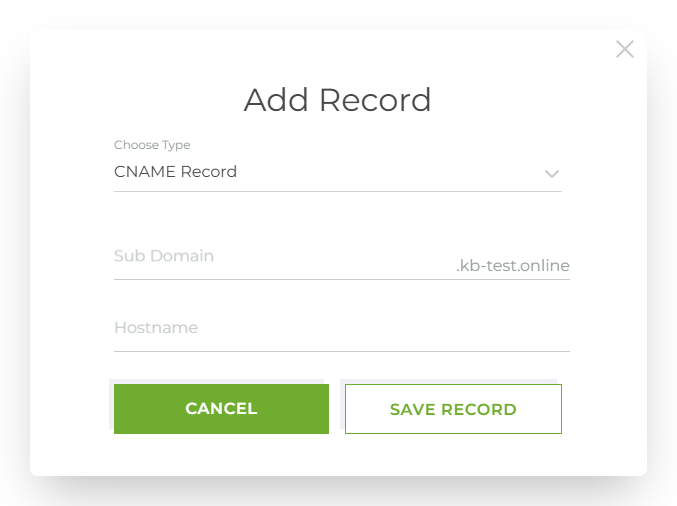
IMPORTANT: Do not include your domain name.
For example: If your domain name is gws-kb.tech and your CNAME label is xxxxx.goog-test.reseller.com.gws-kb.tech, just enter the xxxxx.goog-test.reseller.com. Don't worry, your domain will be added to it automatically after saving the DNS settings. - In the Hostname field, enter the Value provided by Google Workspace.
- Click SAVE RECORD and wait for the new record to fully work or resolve.
Add your Google Verification records in cPanel DNS Editor if the current name servers of your domain name are ns1.syrahost.com and ns2.syrahost.com and your domain name is connected to our Linux Hosting product.
- Go to your cPanel DNS editor.
- Add a new CNAME Record.
- On the Name field, enter your Google Workspace CNAME Label/Host verification record.
- On the CNAME field, enter your Google Workspace CNAME Destination/Target field verification record.
- Click Save Record and wait for it to fully work or resolve.
Add your Google Verification records in Plesk DNS Settings if the current name servers of your domain name are ns1.syrahost.com and ns2.syrahost.com and your domain name is connected to our Windows Hosting product.
- Go to your Plesk DNS Settings.
- Add a new CNAME record.
- On the Domain name field, enter your Google Workspace CNAME Label/Host verification record.
IMPORTANT: Do not include the domain name.
For example: If your domain name is gws-kb.tech and your CNAME label is xxxxx.goog-test.reseller.com.gws-kb.tech, just enter the xxxxx.goog-test.reseller.com. Don't worry, your domain will be added to it automatically after saving the DNS settings. - On the Canonical name field, enter your Google Workspace CNAME Destination/Target field verification record.
- Click OK and wait for it to fully work or resolve.
If your domain name is connected to external name servers (not ours), contact the name server provider and provide your Google Workspace verification record to them, so they can update your domain's DNS settings.
Step 3: Complete Your Domain Verification
Now that you have added your CNAME record, tell Google that you have successfully added your verification record to your domain. Follow these steps:
- Go back to the verification page you left open in your Admin Console. Tick the Come back here checkbox and click Confirm.

TIP. If you've closed the page, you may repeat Step 1-A to reopen it.
- Wait as the system verifies your domain. This process may take a few minutes.
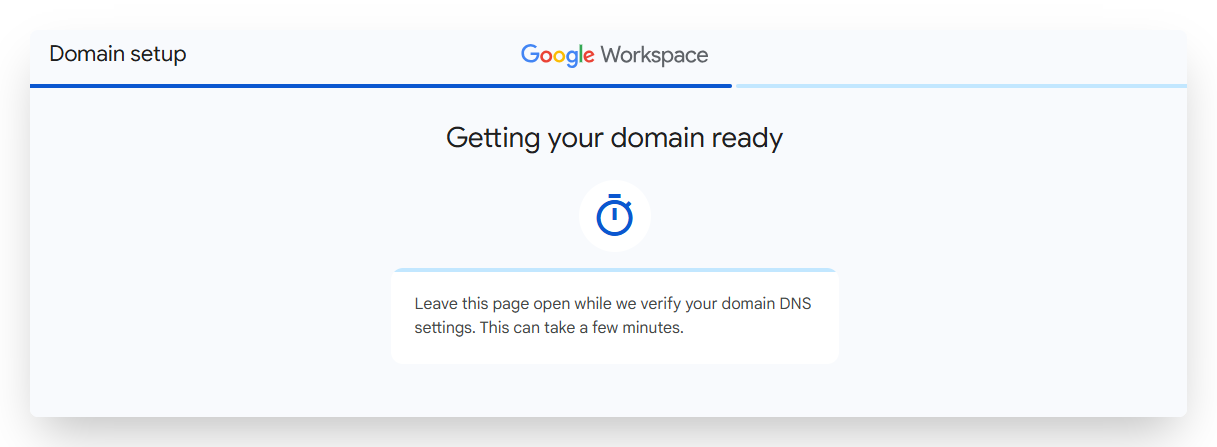
NOTE. If you see an error message in the Google Workspace setup tool, wait for the new DNS records to fully work or resolve before you try again.
- Once complete, you will see the following page.
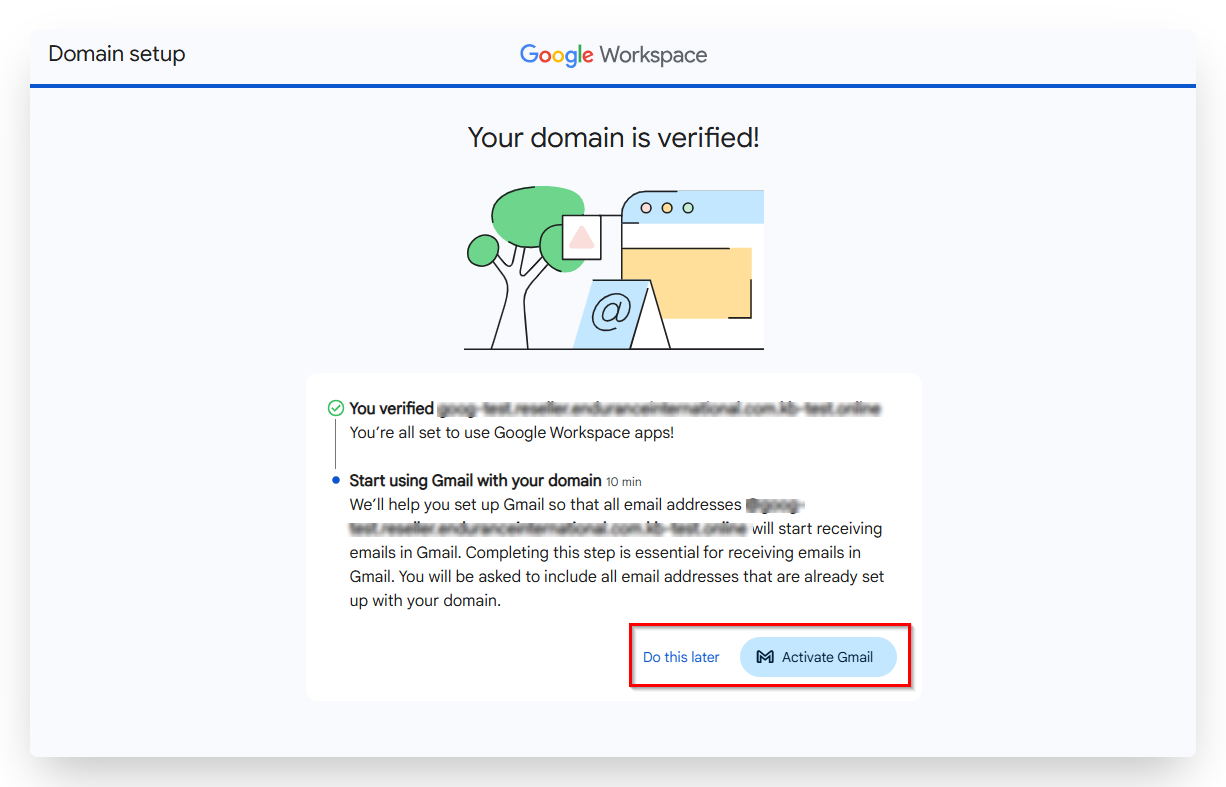
IMPORTANT. To start using Google Workspace, you must activate Gmail. Just click "Activate Gmail" and follow the on-screen instructions. If you prefer to activate it later, refer to our Activate Gmail for Google Workspace guide.